Insert Branch
The Insert Branch tool provides a fast way to add branching or tree structures to your diagram. This also enables you to quickly create Organizational Charts (a.k.a., Org. Charts). You can open the Insert Branch form (Picture 1) from the toolbar or by typing "BR" while flowcharting.
Base Shape
If shapes exist on the worksheet, the Base Shape region is populated with a list of the existing shapes, allowing you to select which shape you want the flow lines (connectors) routed from. If there are no shapes, then you can add a shape by entering the text, selecting it's location on the sheet, and then selecting the shape type and format from the drop down menus.
Branch Type and Options
- Branch Type: Select one of the six types of branch layouts.
- Branch spacing: Determines how much spacing is between each parallel branch.
- Arrow direction: Determines whether the arrows flow from the base symbol to the branches (default), or from the branches into the base symbol.
Add Branch Items
As implied, the Branch text and Branch label fields let you add the text and branch label for each shape. These fields are optimized for fast entry. Pressing Enter in the Text field will forward the cursor to the Label field. Pressing Enter again will add the item to the grid. If both the Text and Label fields are empty, the form will close and the branch structure will be created.
Placing a pipe character (| - above the \ on most keyboards) in the Text field will add a line break to the text when the shape is created. For example, entering "Tiffany Johnson|VP Operations" will produce the following branch item:
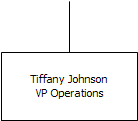
Using "|" character to add line break.
After the text and label are added to the bottom grid, you can click on the Symbol column to change the shape type. Checking the box in the Dashed Line column will make that line dashed, a common line style for alternate paths or advisory roles. The branch items are generated left to right for horizontal branch structures and top to bottom for vertical branch structures.
Sample Outputs
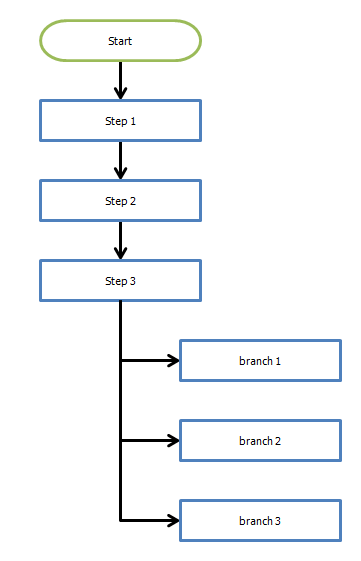
Insert branches from existing shape

Insert branches with new base shape