Flowcharting in Excel Series
Creating a Custom Flowchart Toolbar in Microsoft Excel 2000 - 2003
By Nicholas Hebb
Customize the Drawing Toolbar
The default Microsoft Excel Drawing toolbar is not optimized for flowcharting. To speed up flowcharting, you can customize it to access your favorite drawing functions with a single click.
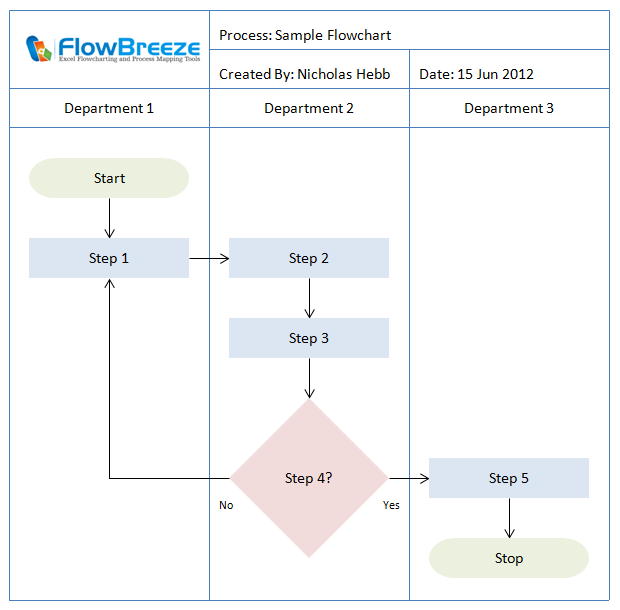
Excel Flowchart Wizard
FlowBreeze is a flowchart add-in for Microsoft Excel that makes creating flowcharts simple and pain free. Free 30-Day Trial.First, make sure the Drawing toolbar is visible. This can be done by placing the mouse over any toolbar, and right-clicking on the mouse and selecting the toolbar name from the popup menu. Alternately, you can select View > Toolbars > Drawing from the menu. The default Microsoft Excel Drawing toolbar should look something like the picture below:
![]()
To customize the toolbar for flowcharts, right-click anywhere on the toolbar and select "Customize". This should bring up the Customize dialog box:
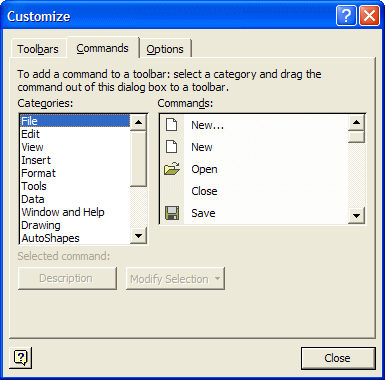
The left-side list contains the Categories and the right-side list contains the Commands that you will add. The two categories that we're concerned with are the Drawing and Autoshapes categories. To add a command to the toolbar, simply click on the command with your mouse and drag it onto the toolbar. To remove a button - do the opposite: select the button on the toolbar and drag it back to the dialog box.
Below is a picture of a toolbar that has been customized for flowcharting, followed by a brief description of each toolbar button. Your preferences may vary, of course.
![]()
From left to right, the buttons are as follows:
- Select Objects: Creates a mouse cursor that allows you to select one or more flowchart symbols or other drawing objects.
- Select Multiple Objects: Opens up a form that lets you select all or some of the flowchart symbols at once.
- Group: groups multiple flowchart symbols into one. This is handy for flowchart Decision symbols (diamonds) and the associated text boxes used for branch labels.
- Ungroup: Separates a grouped object back into its constituent components.
- Snap to Grid: Makes flowchart shapes align to the edges of cells when you move or size them.
- Align Center: Aligns flowchart symbols along their vertical centers.
- Align Middle: Aligns flowchart symbols along their horizontal middle.
- Distributed Horizontally: Spaces flowchart symbols an equal distance apart horizontally.
- Distribute Vertically: Spaces flowchart symbols an equal distance apart vertically.
- Rotate (4 buttons): Rotate left, right, flip horizontal, and flip vertical. One use for these is to point an Off-page Connector flowchart symbol in the direction of the referenced page.
- Straight Arrow Connector: A flow line that connects one shape to another in a straight line.
- Elbow Arrow Connector: Adds a elbow arrow connector to the drawing. If 2 flowchart symbols are aligned, this connector will create a straight flow line, so it's more versatile than a straight connector.
- Reroute Connectors: automatically re-routes connectors (flow line). This is very handy after you move flowchart symbolss, especially when used in conjunction with the Select Multiple Objects function.
- Line style: Changes line style from solid to dashed. (Tip: dashed lines indicate parallel or alternate processes).
- Callout: Callouts are used for adding notes or comments to a diagram. There are many different styles of callouts to choose from, but you should just pick one for consistency.
- Change Autoshape: This command is enabled only when a shape is selected. As expected it lets you change the type of the flowchart symbol (aka, Autoshape).
Other useful flowchart-related commands not shown:
- Text Box: Adds a Text Box to your drawing. These are useful for adding branch labels to the flow lines coming out of flowchart Decision symbols.
- Fill Color: Fills the shape with the selected color. This is useful for categorizing different process steps (e.g., by department, person, etc.) or jazzing up a flowchart.
Creating a Flowcharting Shapes Toolbar
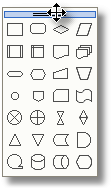
For easy access to flowchart shapes, you can select AutoShapes > Flowchart from the Drawing menu. The Flowchart pop-up will appear as shown in the picture to the right. Click on the top of the Flowchart menu and drag it onto the spreadsheet to be a floating toolbar.
You can do the same trick to add a toolbar for callouts and another for flowchart connectors (flow lines). You can then drag the new toolbars to one of the edges to dock them against the side. I prefer putting them on the left edge, similar to the user interface of high-end flowchart programs.
About the Author
Nicholas Hebb
Nicholas Hebb is the owner and developer of BreezeTree Software, makers of FlowBreeze Flowchart Software, a text-to-flowchart maker, and Spreadspeed, an auditing and productivity toolset for Microsoft Excel®.